We have a guest blog post today from my friend, Sashanna! She is an incredible artist, photographer, and quilter and I am excited for you to hear from her! Enjoy! -Alison

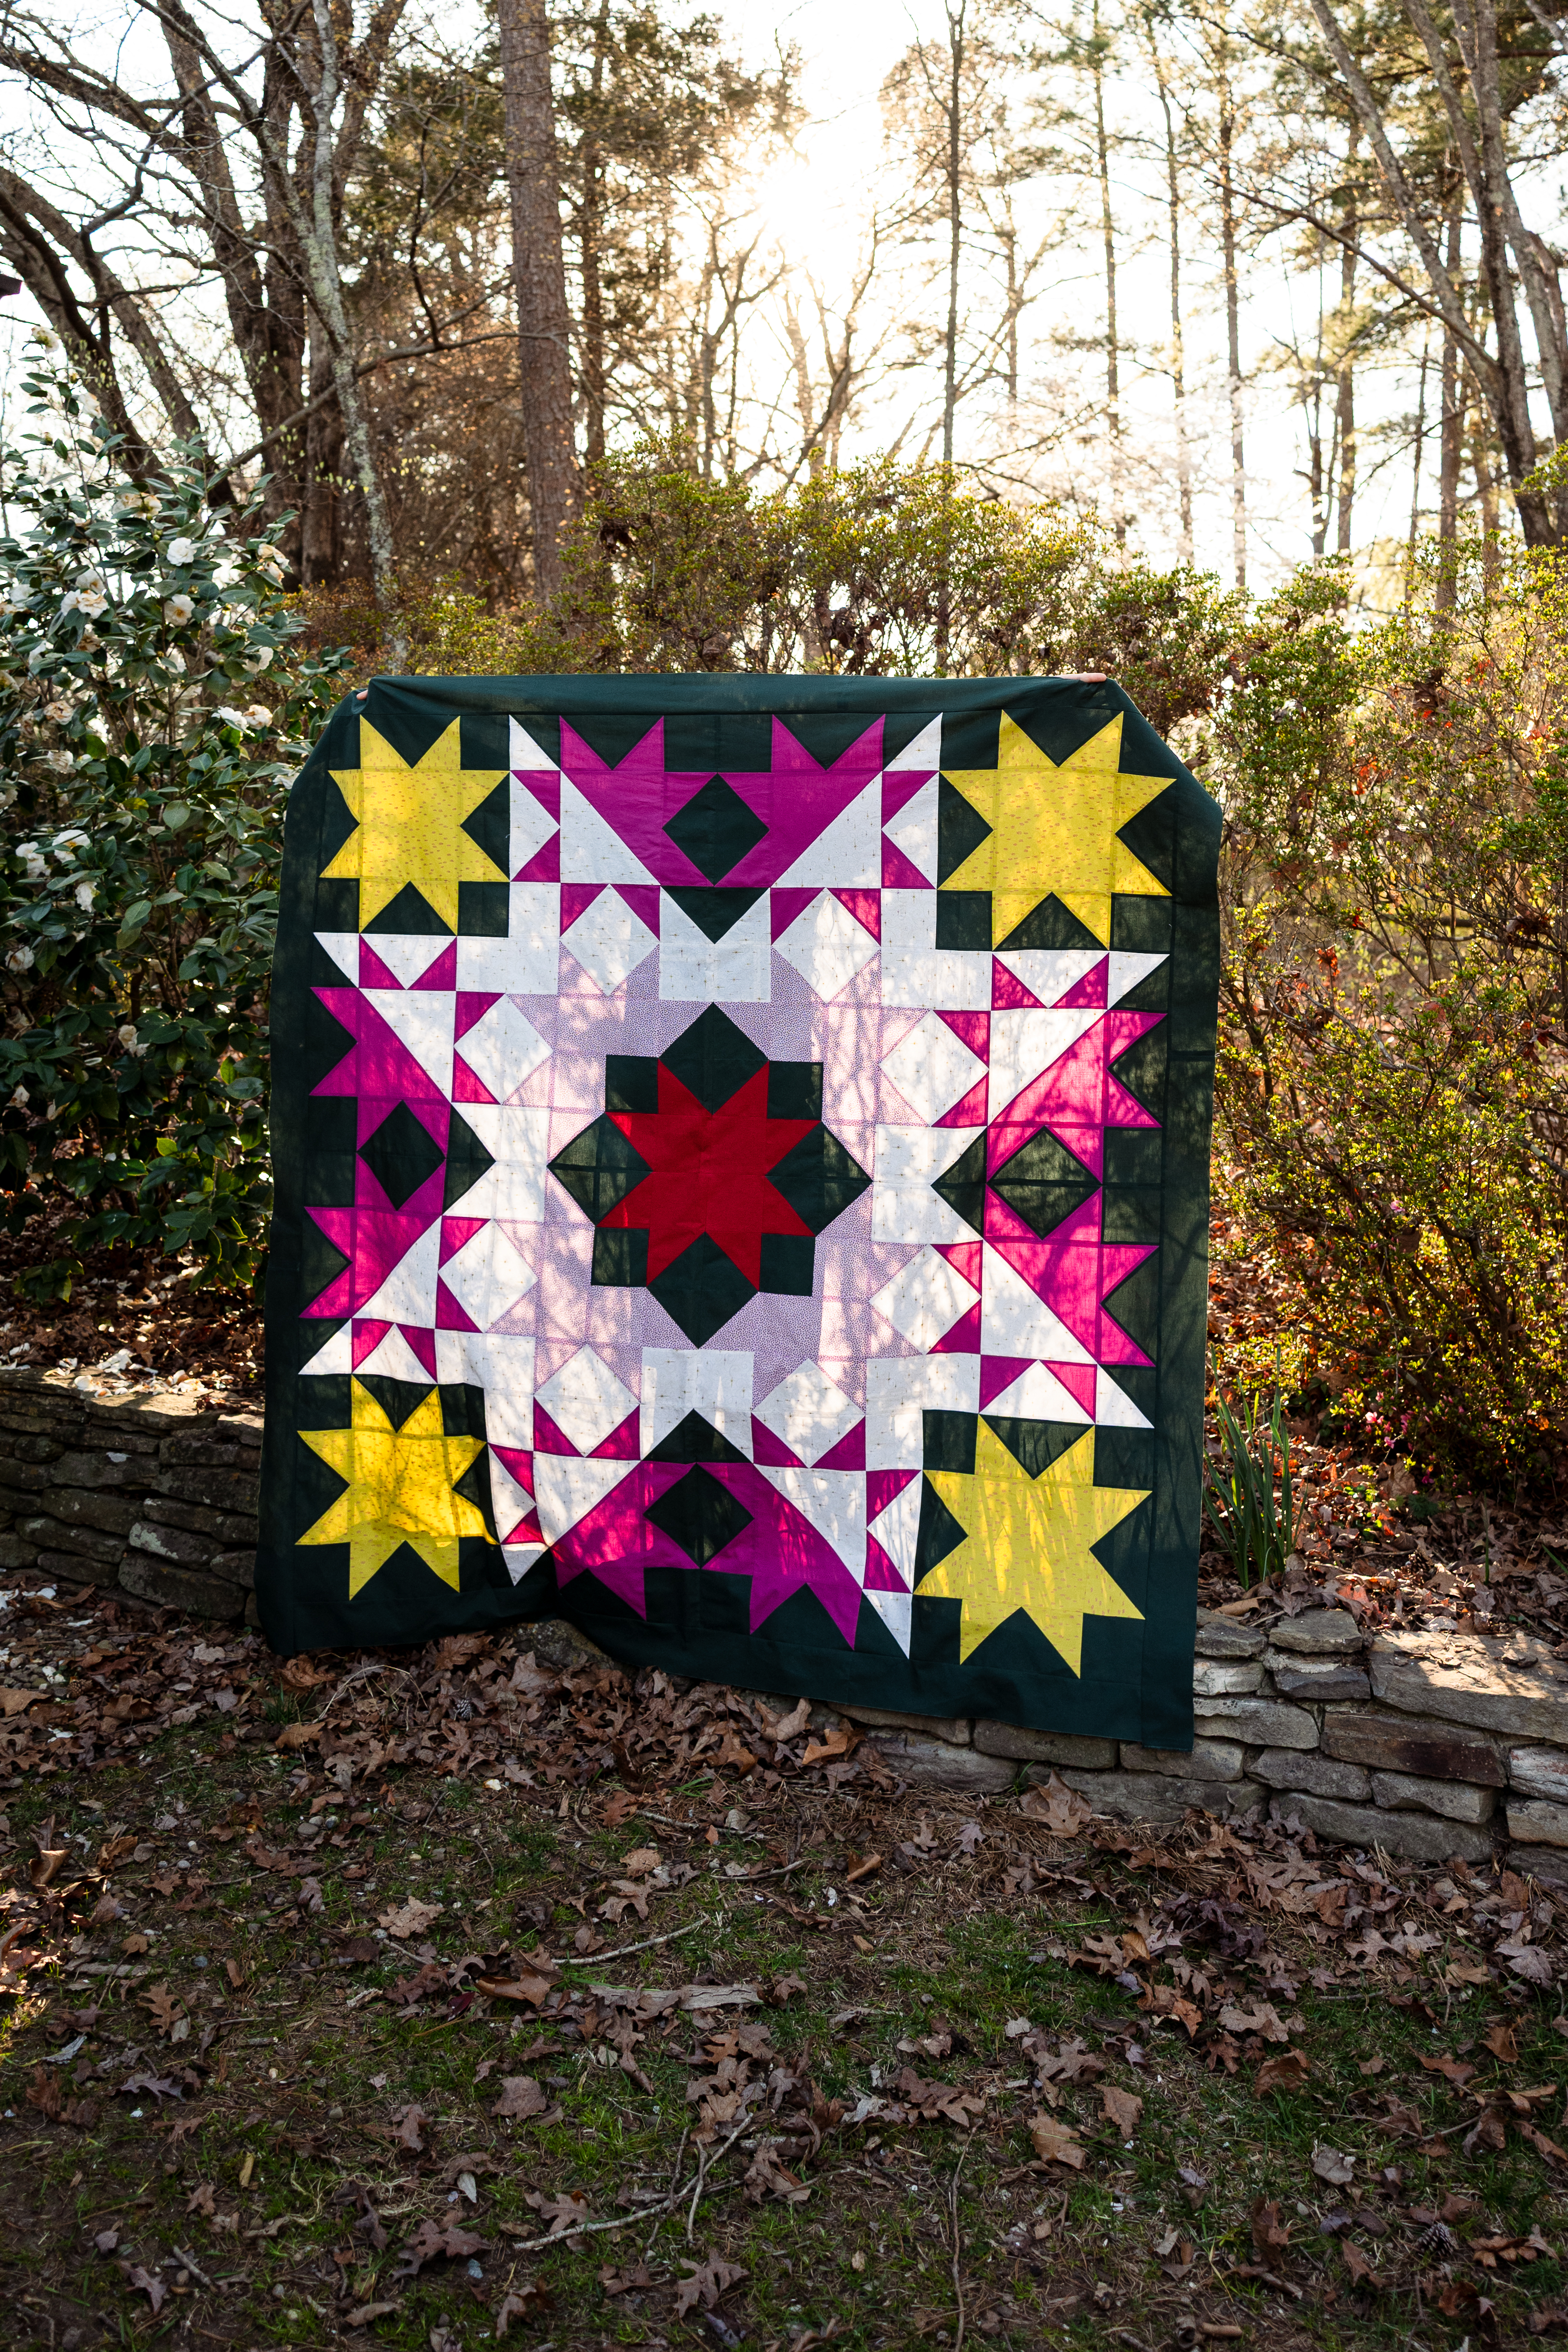
Hello, hello! This is Sashanna, from @sashannahartmaker, here to share a fun new tutorial for Alison’s awesome Sawtooth Starshine quilt, just in time for Christmas. Can you believe that Christmas is almost upon us? I personally am having trouble believing it. However, I am thrilled to have the majority of my handmade gifts finished and my sewing table mostly cleared because my six color Sawtooth Starshine quilt is on the floor, drying out after a glue basting. I have a quilting plan in mind and I think I just might have my first ever Christmas quilt on my couch by December 24th!
Earlier this year, Alison reached out to me about testing this pattern and I immediately jumped on it for several reasons. Firstly, if you have ever made one of her patterns you will know that they are well written and really fun to construct. Secondly, I immediately imagined the Sawtooth Starshine as a Christmas quilt, and I had never made a Christmas quilt before. Of course, I went over to QuiltInk, went rogue, and sent a mock-up to Alison sporting six colors, rather than four, and asking if I could please, please make this version, because it had my whole heart. Thankfully she was so flexible and not only said yes, but thought it was awesome. She asked if I would write up a blog post about how I did it, and I am finally getting around to it. Hopefully it’s in time for you to make a six color quilt of your own for Christmas.
The modifications for making the Sawtooth Starshine quilt a six color quilt are not challenging. Only the cutting directions for Color 2 have to be changed. I have divided Color 2 into three subcategories, Color 2-1, Color 2-2 and Color 2-3. In the original pattern, the quilt is made of three distinct blocks – Block A, Block B and Block C. In the six color modification, Block A is made with Color 2-1. Block B is made with Color 2-2. Block C is made with Color 2-3.

Block A

Block B

Block C
So, let’s look at that cutting chart!

Follow the cutting chart in the original pattern for everything except color 2. For color 2, use the chart above. Make sure to use the original cutting labels provided in the pattern as well as the additional labels provided so that you can keep the new colors straight. Now let’s move on to piecing.
Follow the pattern as written until you get to page 4 where we make 4-at-a-time flying geese. We will be making the three colors of flying geese pictured below.

(16) FG 1 / 2-1

(8) FG 3 / 2-3

(16) FG 1 / 2-2

(16) FG 3 / 2-2
In step one you will gather pieces 1B, 2F 2-1, and (16) 2F 2-2. Follow the steps to piece the flying geese. You will make (16) 1/2-1 flying geese, and (16) 1/2-2 flying geese. Moving on to step 9, gather pieces 3B, 2F 2-3, and the remaining 2F 2-2. Follow steps to make (16) 3/2-2 flying geese and (8) 3/ 2-3 flying geese.
For the rest of the pattern, match your variety of flying geese to the block you are creating. All of your 1/ 2-1 flying geese will be used in Block A. All of your 1/2-2 flying geese and your 3/2-2 flying geese will be used to construct Block B. And all of your 3/2-3 flying geese will be used to construct Block C.
Whew! That was a lot! But now you can follow the original pattern to complete your quilt top. I hope to see lots of new, festive Sawtooth Starshine Quilts popping up on Instagram. Remember to tag them #sawtoothstarshinequilt so we can all follow along on your sparkly journey. Happy quilting!


Thank you for being a guest on the In the Light Quilts blog, Sashanna! Be sure to follow Sashanna on Instagram @sashannahartmaker for more quilting inspiration and gorgeous photos!

Leave a Reply