So you’ve planned your fabric, cut your fabric, made your Half-Square Triangles and Flying Geese blocks, and now you’re ready to put all the pieces together into blocks and blocks into a quilt top! I am so excited for you that you’ve made it this far. This next step is when you really get to see your vision coming together.
If you need to catch up, check out these tutorials to help you make your own Sawtooth Starshine quilt:
Sawtooth Starshine Tutorial #1: Fabric Planning
Sawtooth Starshine Tutorial #2: Cutting
Sawtooth Starshine Tutorial #3: Half-Square Triangles
Sawtooth Starshine Tutorials #4: 4-at-a-time Flying Geese Blocks
To follow along with the tutorials, be sure to purchase the Sawtooth Starshine Pattern before you begin.
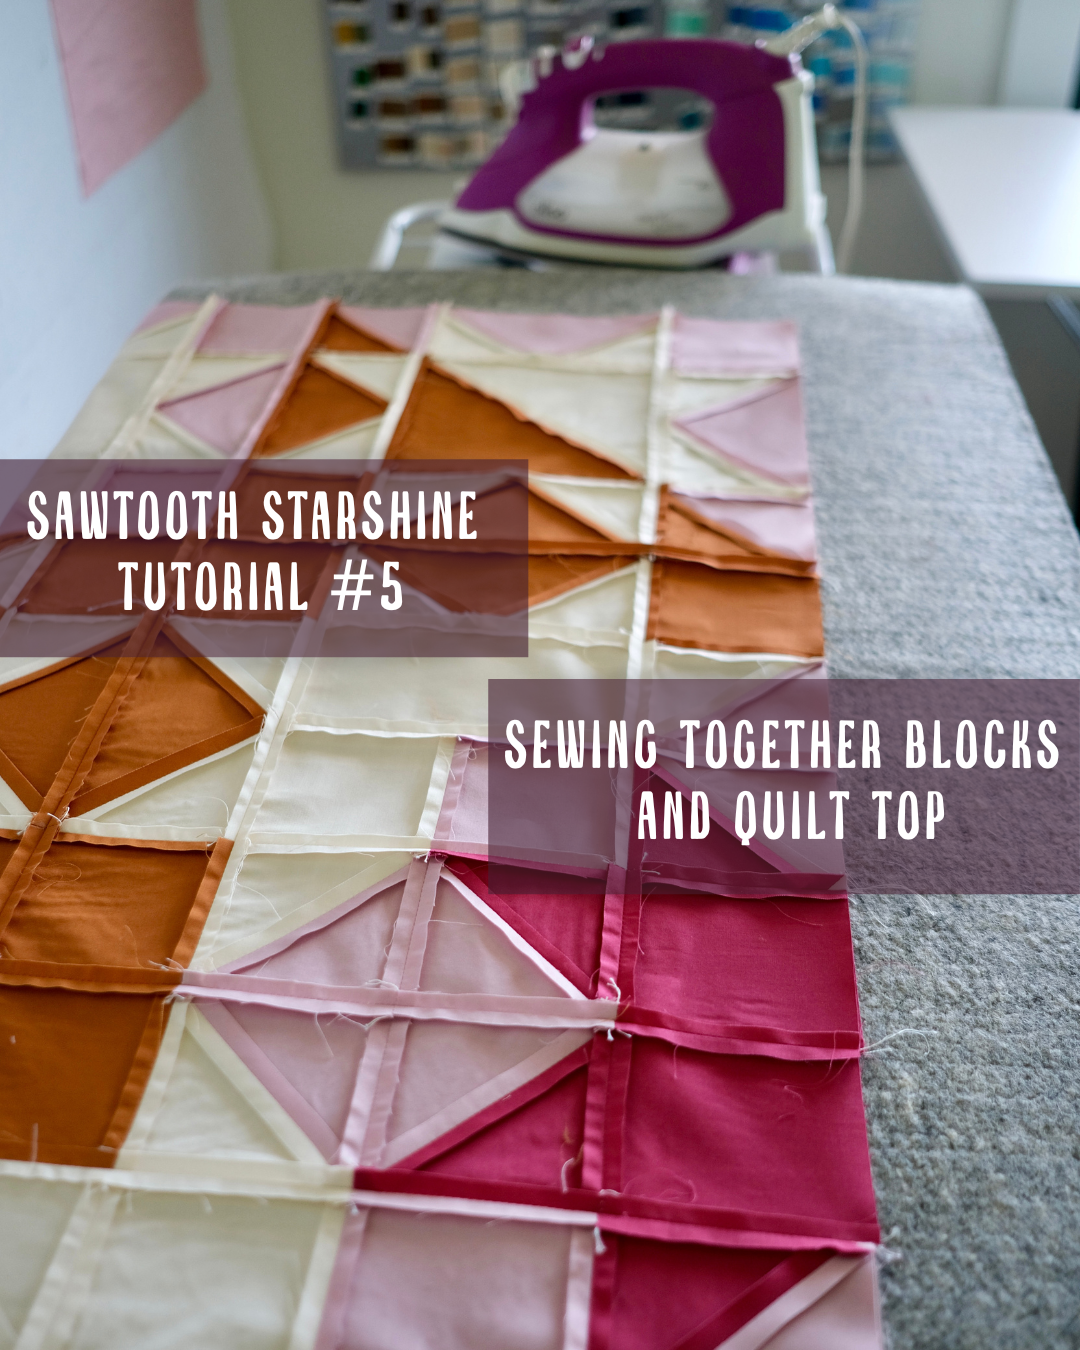
Making your blocks
This pattern is made of 16 Sawtooth Starshine blocks, and within those blocks there are 3 different variations. I am going to show you the basic block, but everything will apply to all 16 blocks/each variation. Once you have all the pieces ready for the blocks, you can start on step 1 of this tutorial.
- I like to lay out my block pieces in the orientation they should be sewn together with enough pieces stacked up to make that specific block. I will be making 4 of these basic sawtooth star blocks for this pattern, so there are 4 pieces in each stack.

2. I then start sewing at the top left of the block. This means that I take the top left square (first on the stack of 4) and place it right sides together with the top Flying Geese block. I sew this together using a quarter inch seam, and then I. continue working down those stacks, chain piecing as I go. To chain piece, you just continue your stitch between pieces that you are sewing together rather than cutting the threads each time. See my photos below to see what I mean!


3. I continue to chain piece the left middle Flying Geese block to the center square (all 4) and then chain piece the bottom left square to the bottom middle Flying Geese block. Once those seams are done, I do not press them, and I continue chain piecing the units I have made to the pieces on the right side of the block as seen below.


4. This is how the top of my chain looks after the previous step. At this point I cut the units apart and press the seams open.

5. Your block is sewn into rows at this point. Now it is time to sew your rows together to create blocks.

6. To start sewing block rows together, I start by laying two units RST (right sides together) to make sure that they are the same length and that the orientation is correct. I have sewn so many pieces together incorrectly (wrong pieces, wrong, direction, etc) so I check and double check before I sew a seam!

7. Then I like to temporarily attach the units using a tiny bit of water soluble sewing glue (this is kind I have used for years!) on each seam to keep them in place. When I say a tiny bit, I mean it (as you can see in the photo). It doesn’t take much! You can also use pins, I just feel like glueing is faster and I just sew right over it vs having to take a pin out at the last second. You can heat press the glue to make it stick better, but I just press it with my finger.


8. Next I sew the seam and repeat for every seam until my blocks are complete! When pressing my seams open, I just pop open the little spot where the glue was holding the pieces together.

ADDITIONAL TIPS FOR MAKING SAWTOOTH STARSHINE BLOCKS:
Since the block I showed was the most basic of all the blocks, I wanted to give you a couple other tips and things to think about as you’re sewing your other blocks in the quilt top.
Tip #1 is to go back and reference your fabric organizer as you are setting your pieces out for each block to make sure your pieces are orientated correctly.

Tip #2: Match up the tips of HSTs when sewing strips together right at the tips. This is a good time to glue or pin them in place.

Then sew your seam right on the tip of the tiny triangle on the right side of the seam. This will help your points to not get “cut off” and the HSTs will match together *almost* perfectly.


These tips will also help you when you’re sewing your blocks into rows and rows into your quilt top!
I can’t wait to see YOUR Sawtooth Starshine Quilt! Be sure to tag me on Instagram @inthelightquilts and #sawtoothstarshinequilt so I can see what you make!

Leave a Reply