Almost all of my patterns, and a lot of other quilt patterns, include a block called Half-Square-Triangles or HSTs. There are many different ways to make these blocks, and when I am writing patterns, I choose the method that makes the most sense for size and amount of HSTs that we will need to make.
In my Sawtooth Starshine Quilt, I guide you through both the 2-at-a-time method and 8-at-a-time method.
If you’re following along with my tutorials in making your own Sawtooth Starshine Quilt (pattern found here), you should have already planned/purchased your fabric and cut your fabric. Check out my past tutorials if you would like to get caught up! #1 Fabric Planning #2 Cutting
Half-Square-TRiANGLES:
2-at-a-time METHOD
As you’re working through the Sawtooth Starshine Quilt pattern, after cutting the instructions lead you to making HSTs using the 2-at-a-time method. Many quilt patterns follow this method and I am going to show you each step in detail.
- Place fabric squares designated in the pattern Right Sides Together (RST).


2. Mark line from corner to corner diagonally. I used a water soluble fabric marker similar to these. I like using these because they are easy to see as you are marking and sewing, and they. wash out of the fabric easily with water when you’re done. I wash my quilts in the washing machine when I complete them, and the marker washes away then.

3. Pin the two pieces of fabric together.

4. Sew a 1/4″ seam on both sides of the line.


5. Cut on the line. Now you have two Half-Square-Triangles!


6. Press seams open. I always press the seam side open then flip it over and give the other side a good press. It is always important when quilting that your seams are as flat as possible.


7. Trim the HSTs according to the size the pattern says. Be sure to align the center seam with the diagonal line on your ruler. I usually trim the right and top sides then flip the HST and trim the right and top sides again for all 4 sides to be trimmed.

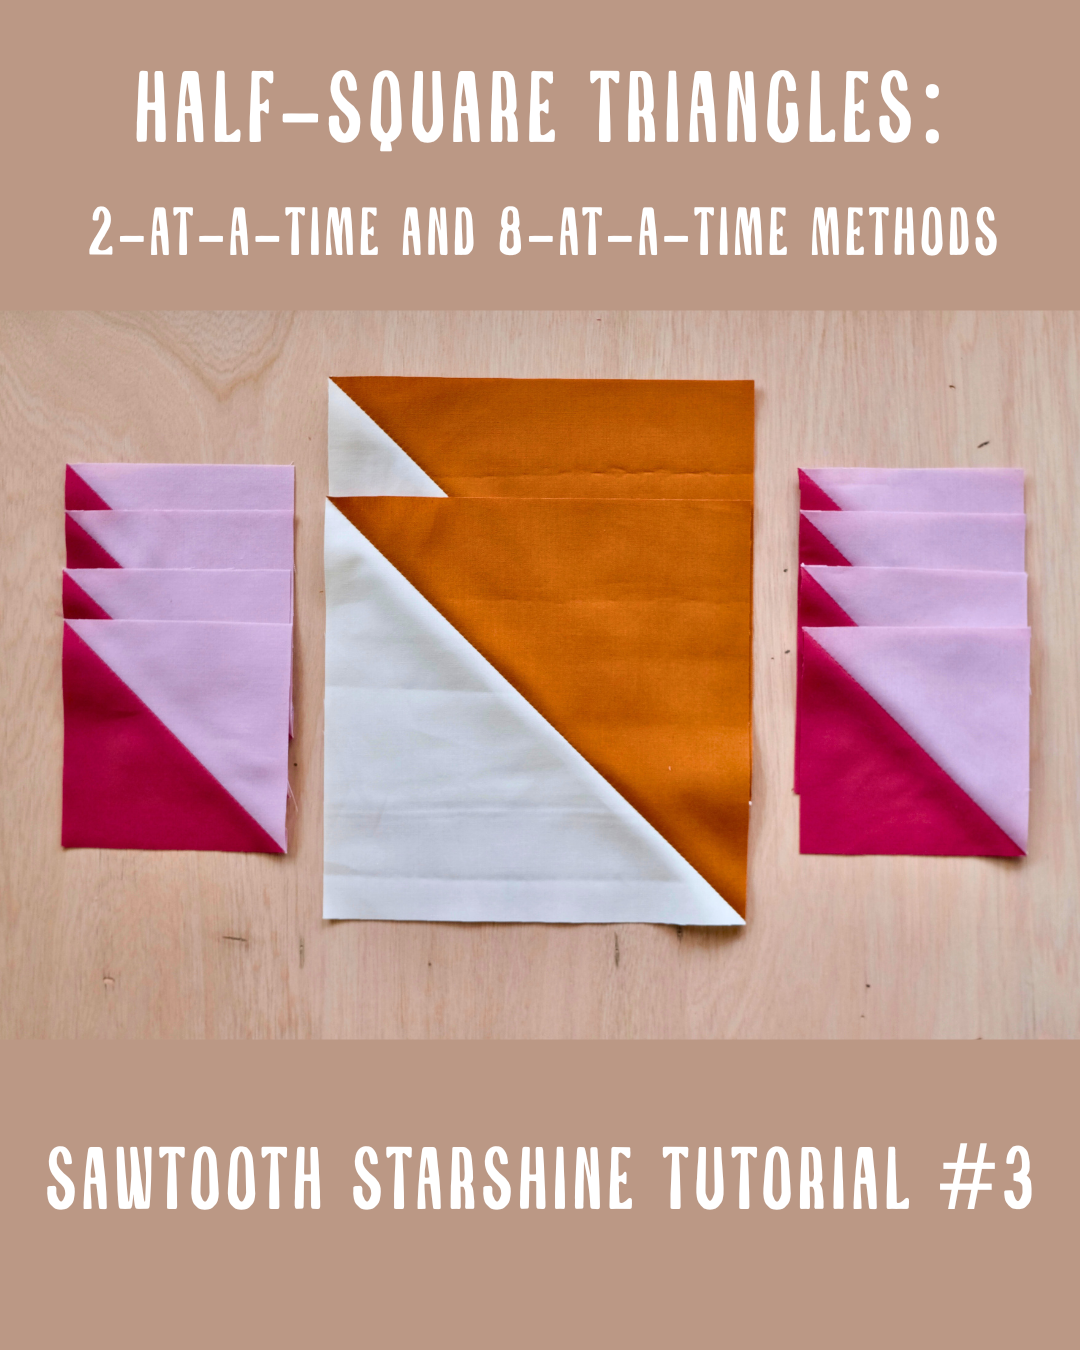
Now you have created 2 perfect HSTs that are ready for the next step in your pattern!

8-at-a-time METHOD:
Another method used in my Sawtooth Starshine pattern is the 8-at-a-time method. I typically use this method for HSTs needed that are on the smaller side. It is probably my favorite method to use to make HSTs!
- Place fabric squares designated in the pattern Right Sides Together (RST).


2. Mark lines from corner to corner diagonally, as well as 2 perpendicular lines through the middle from side to side. I used a water soluble fabric marker similar to these. I like using these because they are easy to see as you are marking and sewing, and they. wash out of the fabric easily with water when you’re done. I wash my quilts in the washing machine when I complete them, and the marker washes away then.


3. Sew a 1/4″ seam on each side of the diagonal lines. (Do not sew along the perpendicular lines.)

4. Cut on each of the lines. Now you’ve made 8 HSTs!


6. Press seams open. I always press the seam side open then flip it over and give the other side a good press. It is always important when quilting that your seams are as flat as possible.


Repeat to press all HSTs open.

7. Trim the HSTs according to the size the pattern says. Be sure to align the center seam with the diagonal line on your ruler. I usually trim the right and top sides then flip the HST and trim the right and top sides again for all 4 sides to be trimmed.

Now you have created 8 perfect HSTs!

I hope you learned something new about making HSTs and that this tutorial is helping you make your Sawtooth Starshine quilt! In the next tutorial, I will be showing you how to make Flying Geese blocks using the 4-at-a-time method!
Leave a Reply