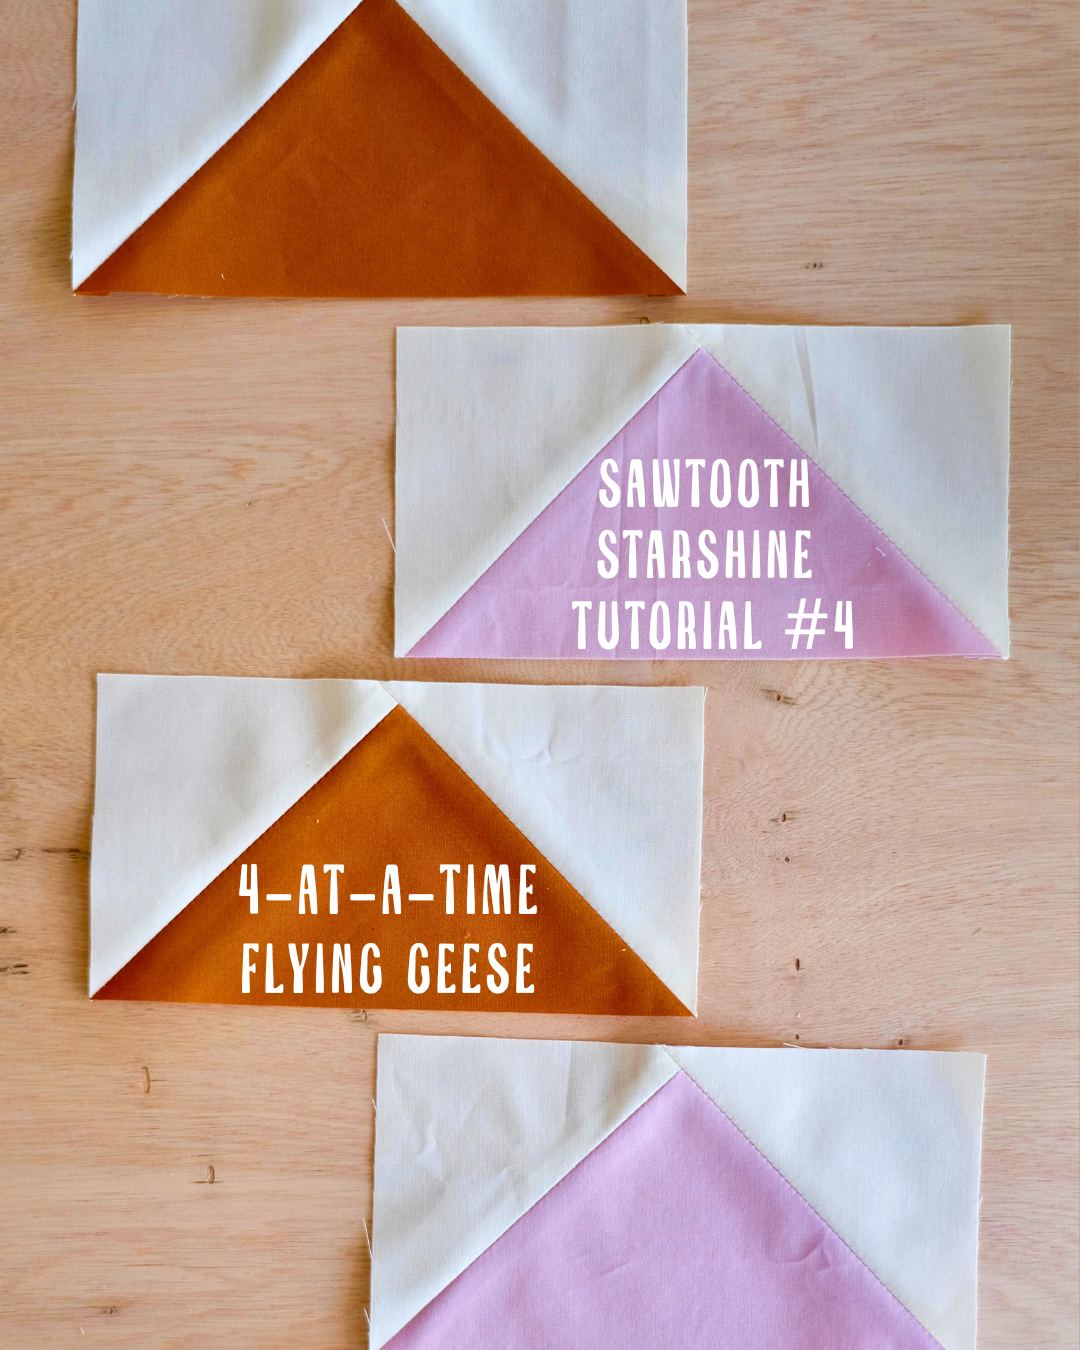
I have become a huge fan of making Flying Geese using the 4-at-a-time method! When you start, it’s hard to imagine the steps resulting in Flying Geese blocks, but it really works and its so fun!
This is the only Flying Geese method I ever use, and you will see it in my Sawtooth Starshine Quilt Pattern along with many of my other patterns and quilt patterns in general. I have even created Flying Geese Block Rulers to help you with the tricky trimming at the end of making them.
If you’ve been following along with my tutorial series, you should have already planned your fabric, cut your fabric, and created your half-square triangles. If you need to get caught up, click the links below!
Sawtooth Starshine Tutorial #1: Fabric Planning
Sawtooth Starshine Tutorial #2: Cutting
Sawtooth Starshine Tutorial #3: Half-Square Triangles
Purchase the Sawtooth Starshine Pattern to make your own.
READ TO THE END TO SEE MY EXCLUSIVE TIPS to help you make Flying Geese blocks quickly and easily!
4-at-a-time Flying Geese Block
- You should have your pieces cut according the the pattern. Lay 2 of the smaller squares on opposite corners of the larger square. I like to pin in place on one side at this point.


2. Use a ruler to mark a line from corner to corner. I like using water soluble fabric pens like these. I like to pin the other side after I mark the line.


3. Sew a 1/4″ seam on both sides of the line.


4. Cut on the line using a ruler and rotary cutter.


5. Press seams open. I like to open the seam and then press again on the front to get the seams as flat as possible.

6. Now you have 2 units that look like this:

7. Place one small square on each of these units. Mark a line from corner to corner on the small squares.


8. Pin in place and sew a 1/4″ seam on both sides of the line.


9. Cut on the lines.


10. Press seams open.


11. You have 4 Flying Geese! You’re almost there!

12. Lastly, you need to trim these blocks so that they are ready to fit into your quilt blocks perfectly. I am going to show you how to use the trimming rulers I have created and sell on my website (click the link to get your own!), but if you are using a regular ruler you can check out my blog post on trimming FG.
Select the trimming ruler size according to the pattern. Every pattern that includes FG will tell you the trimming size. My rulers also list the “finished size” which tells you the size they will be when then are sewn into a block using a 1/4″ seam on all 4 sides.

13. Line up the seams with the triangle on the ruler. This will ensure that you have a proper 1/4″ seam allowance without loosing the point at the top of the triangle.

14. Use a rotary cutter to trim the excess fabric away from the FG.


15. Repeat for all FG!
ADDITIONAL TIPS FOR MAKING FLYING GEESE BLOCKS:
When a pattern calls for making LOTS of FG, I like to get them done as quickly as possible, yet still making sure they are as perfect as possible.
** Mark lines on all small squares before hand. This way you can place, pin, and go!

** Chain piece all seams and make all the FG at the same time. This means, do not cut your thread between seams, just keep going on the next FG unit! They will all be connected or “chained” after sewing them.

** Use ruler sticky grips. This will prevent your ruler from sliding around on your fabric.


** Use a rotating cutting mat. (I couldn’t find the one I have on Amazon, so I linked a similar one.) This way you can leave the ruler on the FG block and rotate the cutting mat to trim the last 2 sides. I always do the right and top sides because I am right handed and then rotate to trim the right and top again.


Happy Sewing! Next we will be putting the quilt blocks together, my favorite part!!
Leave a Reply