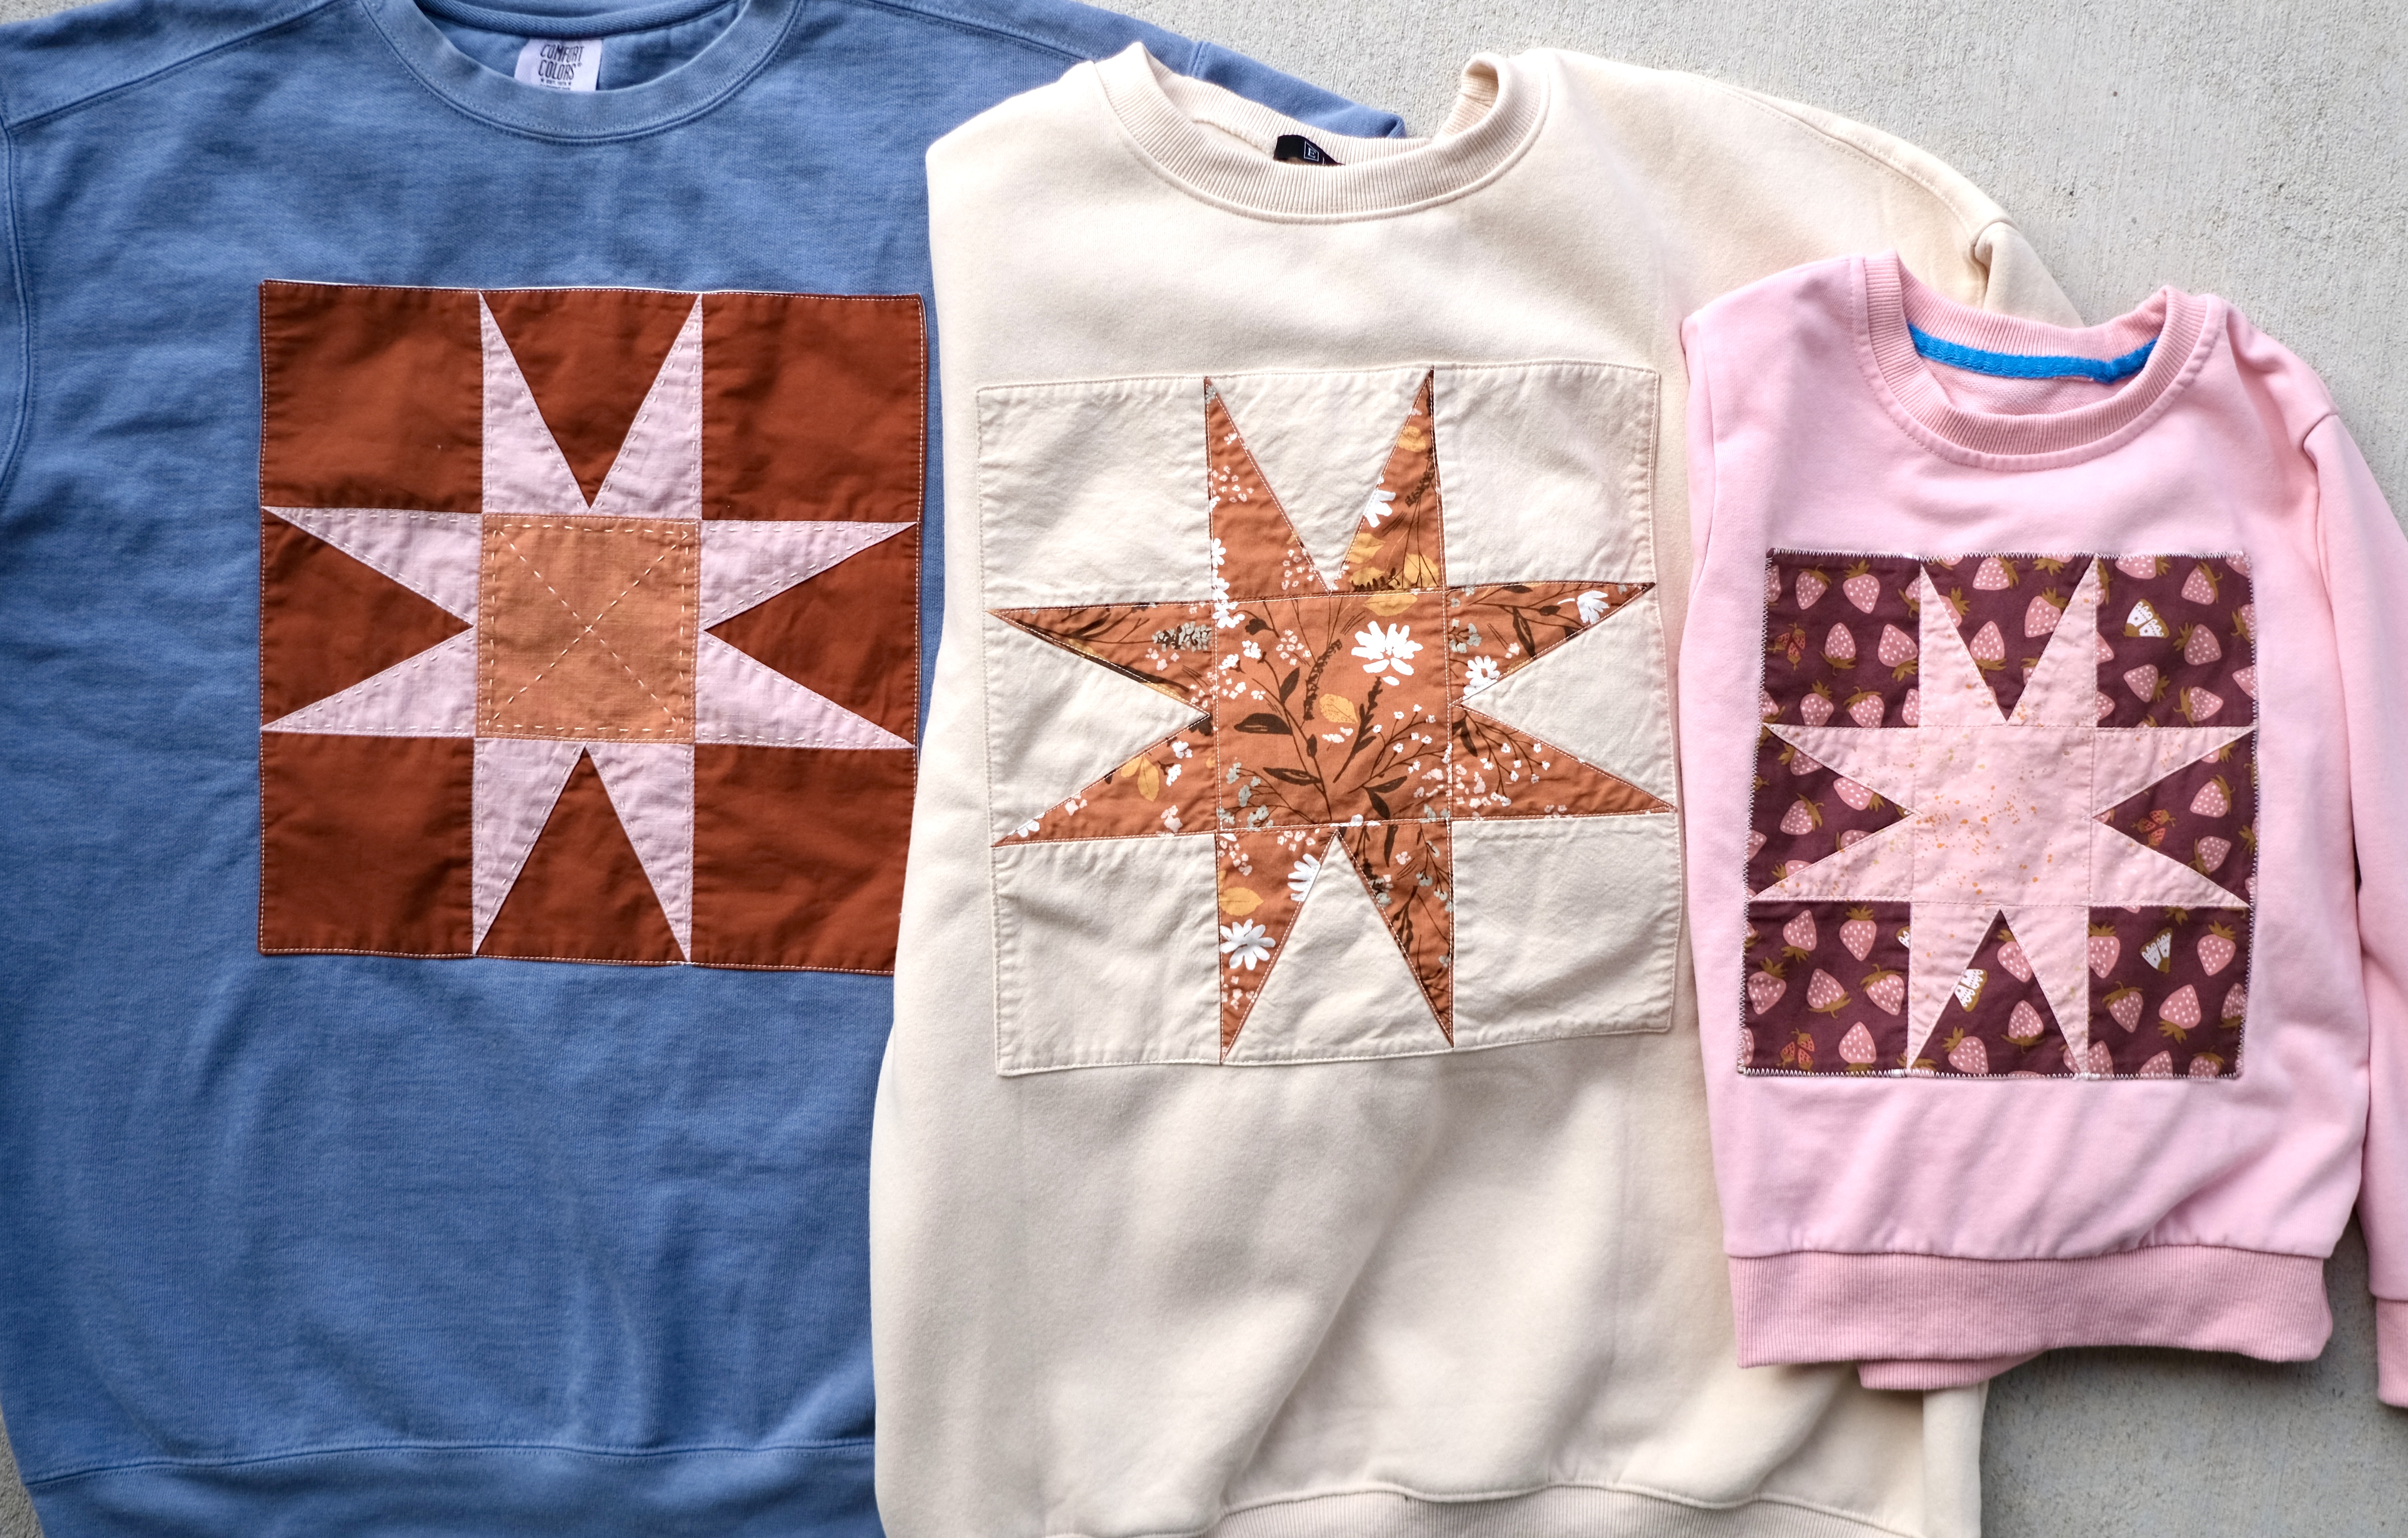

Quilt blocks add a cozy feel to just about anything, so what could be cozier than a sweatshirt featuring your favorite quilt block?! In this tutorial I will show you how to upcycle any sweatshirt into the quilty sweatshirt to snuggle in for the chilly season ahead.
Quilt block sweatshirt supplies:
- completed quilt block (I made a 12″ x 12″ Sun Rays Block)
- piece of solid quilting cotton or muslin that is the same size as your quilt block (mine is 12″ x 12″)
- sweatshirt (this is a great project for upcycling an old sweatshirt or one from a thrift shop! You can also find blank sweatshirts on Amazon.)
- children’s glue stick
Basic Sewing Supplies needed:
- sewing machine
- needles/thread for your machine
- pins or clips
- iron and ironing board (I also use a wool mat!)
- walking foot for your sewing machine (optional)
- fabric scissors
Steps:
- Place your quilt block right sides together (RST) with the piece of fabric that is the same size as the block.


2. Pin in place and sew around the edge using a 1/4″ seam allowance. Leave a 3 inch opening on one of the sides in the center. Be sure to backstitch at the beginning and end of the seam.


3. Trim each corner of fabric off. Do not cut through the seam.

4. Flip the block through the gap. Press seams flat, including the seam at the gap.


5. Quilt the block however you would like! Sew through both the quilt block and solid layers of fabric. I used my machine to add quilting lines (this is where a walking foot comes in handy!). I did end up taking some of the quilting out (using a seam ripper) before I attached it to my sweatshirt, only because it felt like too much for my taste. On my quilt block that I attached to the blue sweatshirt, I add both machine quilting and hand quilting.

6. Now decide where you want your block to be on the sweatshirt. You could put it on the front, back, shoulder, etc. When you have decided on placement, use a children’s washable glue stick to attach the quilt block to the sweatshirt. The glue will wash out once you complete the sewing and throw it in the washing machine.


7. I also add some pins to really keep it in place.

8. Sew around the edge of the sweatshirt. Make sure to only sew through the quilt block and the side of the sweatshirt you are attaching it to. I used a regular straight stitch on this sweatshirt, but you can also use a zig zag stitch. Be sure to back stitch at the beginning and end.

9. That’s it! You did it! Wash and dry it (I usually wash cold and dry on low for the first wash at least) and wear it! I hope you enjoyed this tutorial! Share a photo and tag me on Instagram! @inthelightquilts


Leave a Reply