- Mini Sunny Blooms Block sewing pattern (found here: <a href="http://

2. Lay out blocks and small border pieces (2″ x 13 1/2″). Place RST and sew. Press seams open.


3. Lay out unit created in step 2 between the long border strips. (I made my long border strips by cutting (3) 2″ x WOF pieces to start. I then cut (1) of those WOF pieces in half and sew (1) half to (1) WOF piece and the other to the other WOF piece. This gave me (2) long strips that I used for the border. They were both too long, but I like having a little extra on those long seams. I sewed them on and then trimmed the excess border strips off after.)

4. Press seams open and give the entire table runner top a good press. My entire table runner fit on my Novodon Wool Pressing Mat which made pressing quick and easy!
5. Fold backing fabric selvage to selvage and then fold in half. Cut along this fold (cut will run selvage to selvage). Place (2) pieces of fabric RST matching the selvage on (1) piece to the selvage on the other piece. Sew along the selvage with a 1/2″ seam allowance. Cut selvage off (if you would like to! I always do) and press seam as desired. Now you have your backing fabric ready to go!


6. Make your quilt “sandwich” by laying out your backing fabric, batting, and quilt top. Baste and quilt as desired. (I used my longarm machine to quilt the edge to edge pantograph called Not Quite Crosshatch by Quilting Mill)


7. After quilting, trim off the excess backing and batting.
8. Sew binding strips together to create one long strip. Press in half lengthwise. Attach binding as desired. I sewed my binding on to the back first using my machine. Then, I used my machine to attach onto the front sewing directly onto the binding.
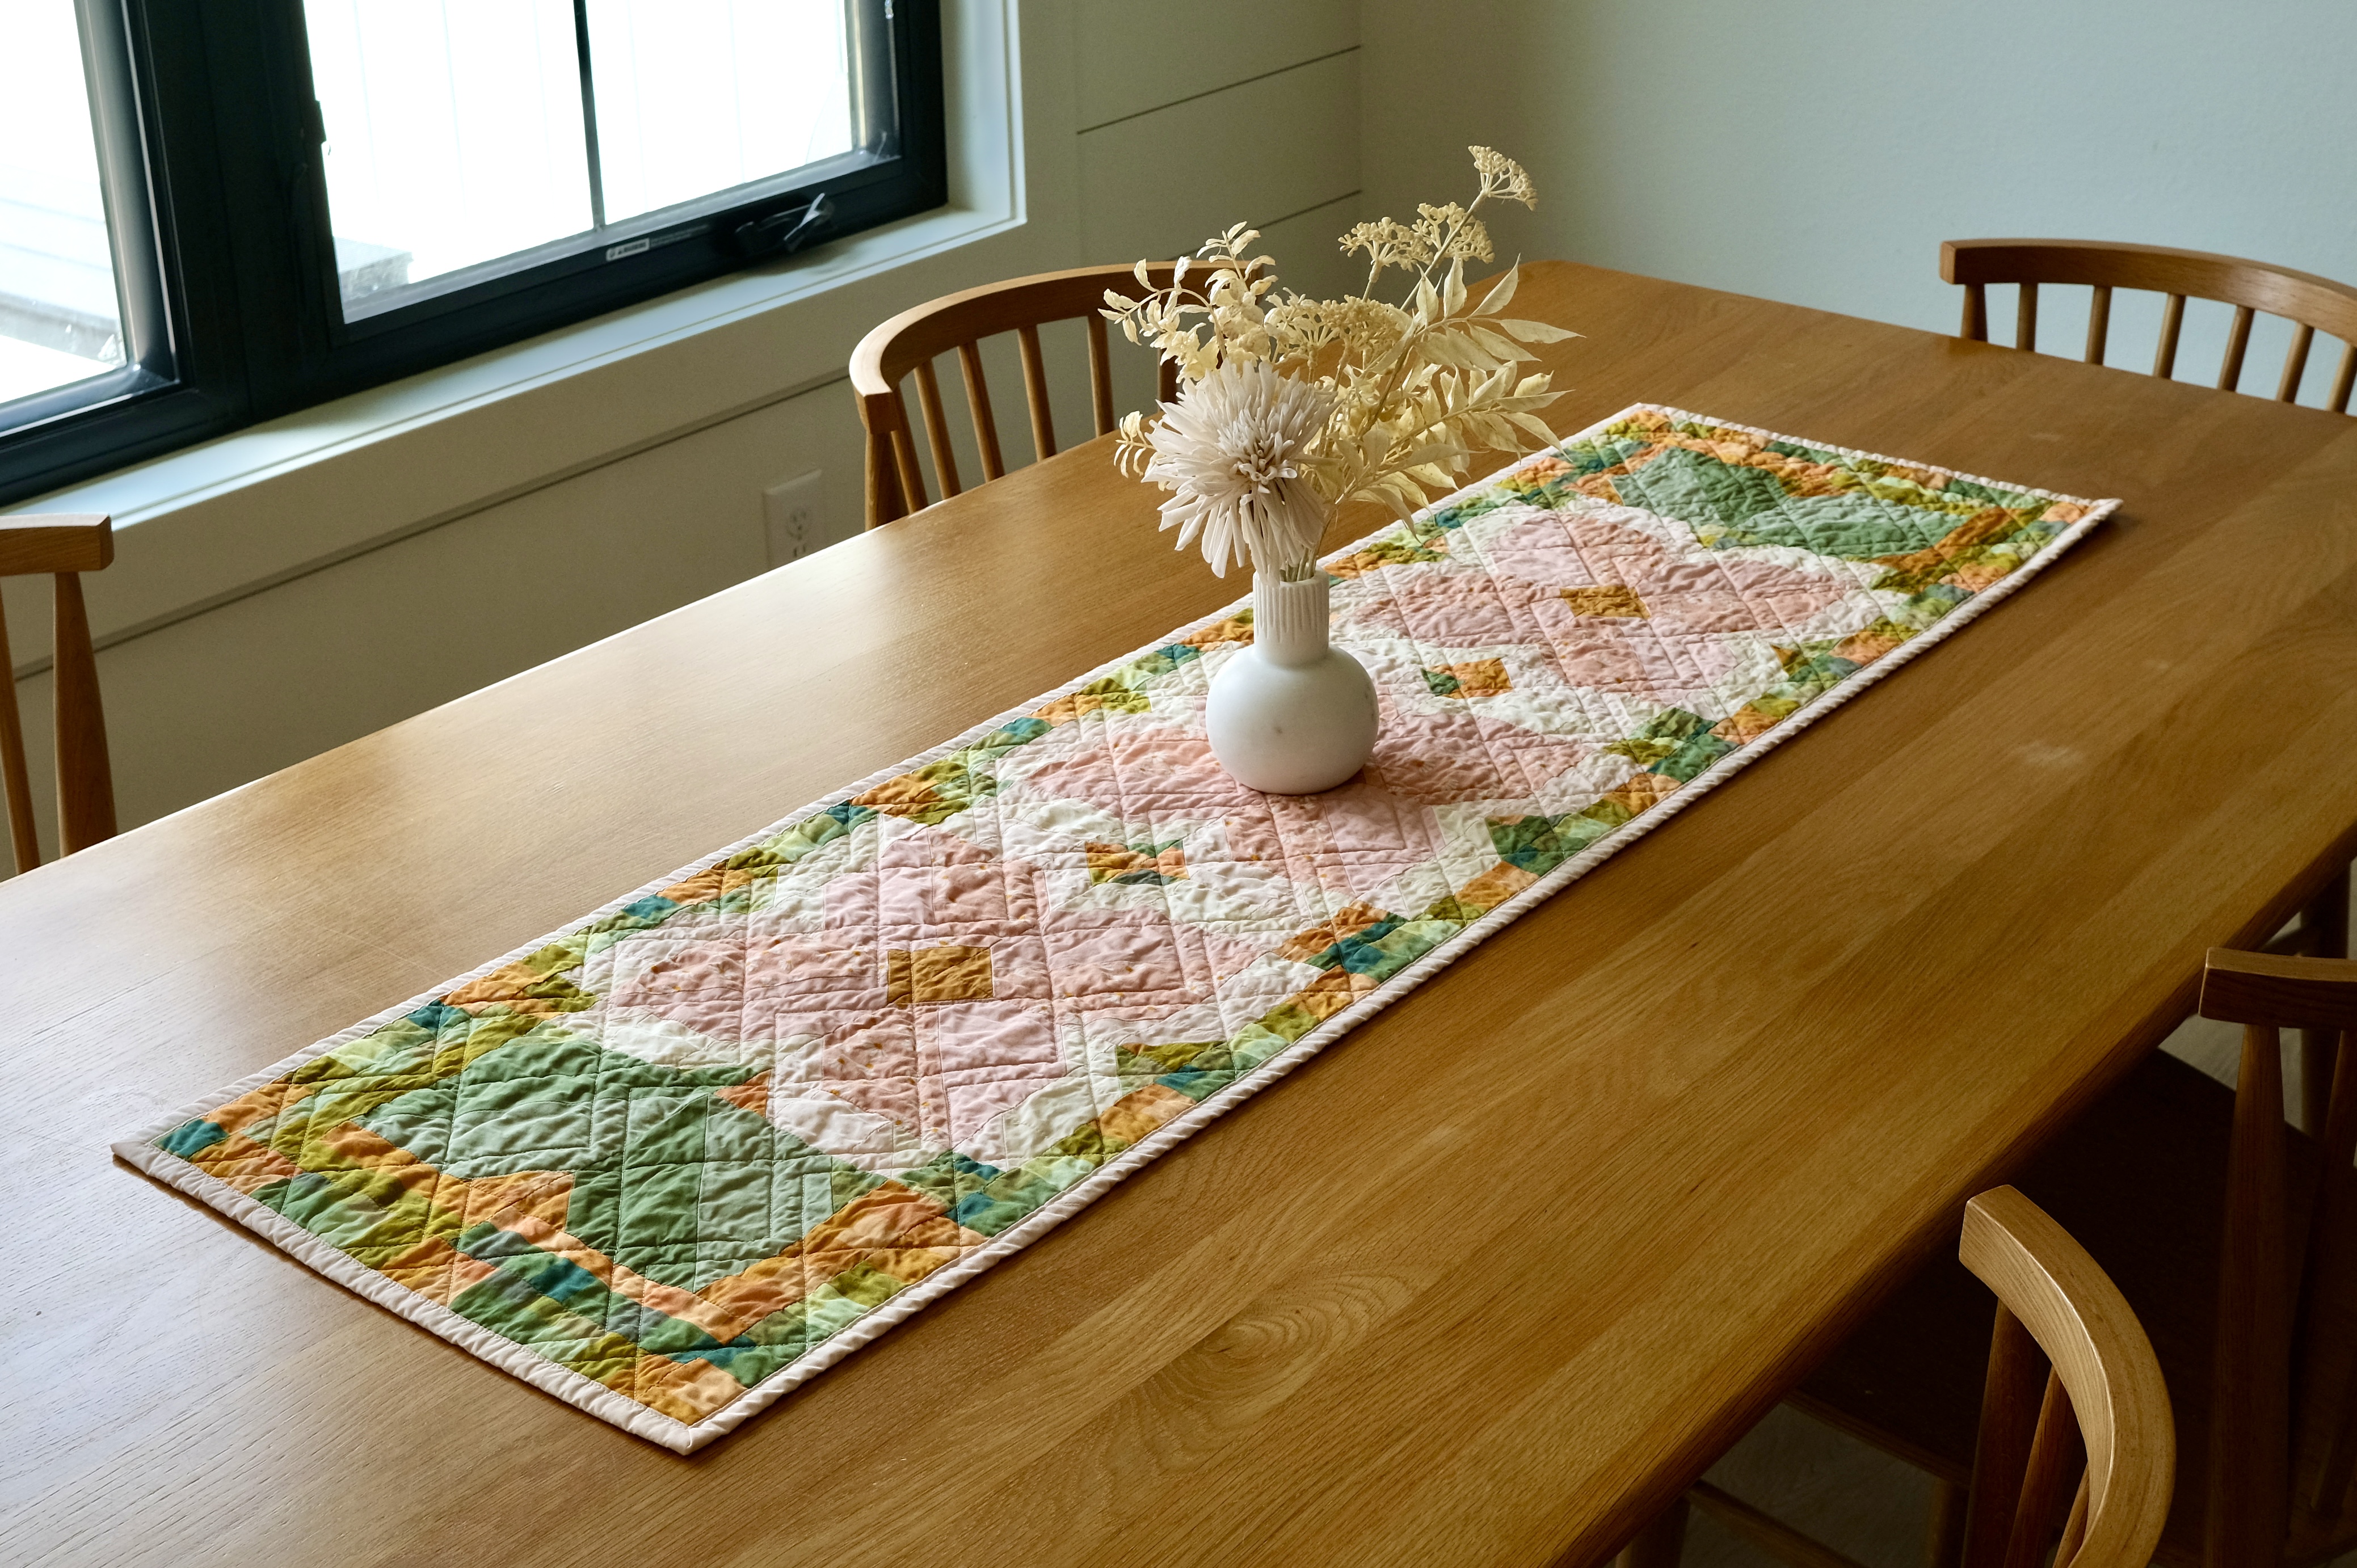
Now you have a completed Mini Sunny Blooms Table Runner! Thank you for following my tutorial! Tag me in your photos on Instagram so I can see what you have made and share with others! @inthelightquilts #MiniSunnyBlooms


I am so excited to show you how to use my new block pattern, Mini Sunny Blooms, to make your own table runner!
Table runners are a great beginner quilting project. You get to practice all the steps of making a quilt in smaller doses, since a quilted table runner is essentially a tiny quilt!
Below are some examples of colors and the layout I will be walking you through in this tutorial. The first example is using the colors I wrote the Mini Sunny Blooms block pattern. The next example is using colors similar to the fabrics I used in this tutorial.


Before you begin:
WOF: Width of Fabric, assumed to be 42 inches
RST: Right Sides Together
All seams are 1/4″ unless noted otherwise
Along with basic sewing supplies, you will need:
- Mini Sunny Blooms Block sewing pattern (found here: <a href="http://
- First use my Mini Sunny Blooms pattern to make 3 Mini Sunny Blooms Flower Blocks and 2 Mini Sunny Blooms Leaf Blocks.
2. Lay out blocks and small border pieces (2″ x 13 1/2″). Place RST and sew. Press seams open.
3. Lay out unit created in step 2 between the long border strips. (I made my long border strips by cutting (3) 2″ x WOF pieces to start. I then cut (1) of those WOF pieces in half and sew (1) half to (1) WOF piece and the other to the other WOF piece. This gave me (2) long strips that I used for the border. They were both too long, but I like having a little extra on those long seams. I sewed them on and then trimmed the excess border strips off after.)
4. Press seams open and give the entire table runner top a good press. My entire table runner fit on my Novodon Wool Pressing Mat which made pressing quick and easy!
5. Fold backing fabric selvage to selvage and then fold in half. Cut along this fold (cut will run selvage to selvage). Place (2) pieces of fabric RST matching the selvage on (1) piece to the selvage on the other piece. Sew along the selvage with a 1/2″ seam allowance. Cut selvage off (if you would like to! I always do) and press seam as desired. Now you have your backing fabric ready to go!
6. Make your quilt “sandwich” by laying out your backing fabric, batting, and quilt top. Baste and quilt as desired. (I used my longarm machine to quilt the edge to edge pantograph called Not Quite Crosshatch by Quilting Mill)
7. After quilting, trim off the excess backing and batting.
8. Sew binding strips together to create one long strip. Press in half lengthwise. Attach binding as desired. I sewed my binding on to the back first using my machine. Then, I used my machine to attach onto the front sewing directly onto the binding.
Now you have a completed Mini Sunny Blooms Table Runner! Thank you for following my tutorial! Tag me in your photos on Instagram so I can see what you have made and share with others! @inthelightquilts #MiniSunnyBlooms
- Mini Sunny Blooms Block sewing pattern (found here: <a href="http://
Leave a Reply